Industrial-grade process chillers provide reliable and precise cooling to keep your equipment operating optimally, whether for brewing, medical, cannabis, food processing, dairy, or other industrial applications. However, not all chillers are created equal. This article will break down our chiller manufacturing process, focusing on the production and quality control measures that give our high-performance units an edge over the competition.
Below, we’ll walk you through our nine-step process for manufacturing an industrial process chiller for reliability, performance, and maximum uptime.
Our 9-step chiller manufacturing process
Discover the basics of our chiller manufacturing process in the following nine essential steps, starting with design and finishing with our rigorous quality control process.
1. Design
We design and manufacture all our industrial-grade process chillers domestically in Bensalem, PA., USA. Our experienced engineers process every system to ensure maximum performance. They consider your industry, environment, budget, system preferences, and other factors when determining the best chiller configuration for your unique application needs. While our chillers may vary in size, mechanics, and features, we design them with the same level of exceptional engineering expertise.
2. Infrastructure
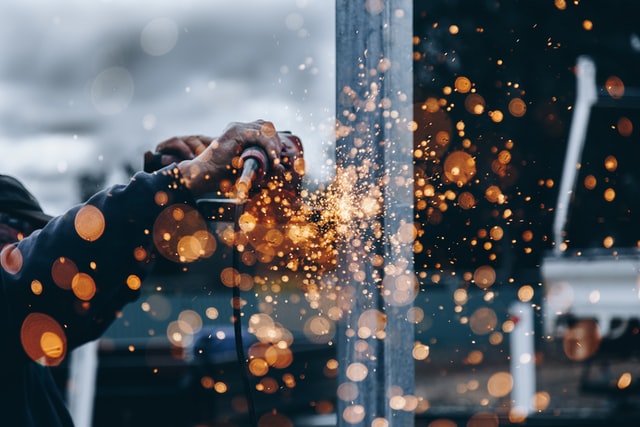
Next is the burning and bending phase, where we laser or punch and deburr metal to flatten the chiller’s components. Then, we create the chiller’s infrastructure by forming sheet metal parts into their shape using a hydraulic press brake to bend the metal with precision and accuracy.
3. Assembly
During the assembly phase, we securely fasten the chiller’s metal infrastructure using sheet metal rivets, nuts, bolts, and anchors. Because we design the metal components using sophisticated 3D CAD software, they have pre-punched holes for mounting components in their proper positions without requiring drilling.
4. Component loading
With the chiller frame constructed, we can begin loading the four major chiller components: compressor, condenser, expansion valve, and evaporator. Then, we load additional components, including the suction accumulator, pump(s), and tank. Finally, we mount all these components to the chiller frame in preparation for piping, the next step in the chiller manufacturing process.
5. Piping
After we assemble the chiller frame and load all the significant components, we can connect the smaller components using the copper tubes, elbows, adapters, etc. These components include but are not limited to expansion valves, hot-gas bypass valves, ball valves, solenoid valves, liquid-line filters, and sight glasses. We use multiple CNC pipe benders to form the refrigeration and fluid circuit piping to reduce braze joints for a more robust and reliable process chiller.
6. Brazing
Brazing is a metal joining process that uses a highly concentrated flame to heat filler metal between the joints of the pipes. Because the filler metal has a lower melting point than the pipes, it can flow inside the gap between the lines by capillary action.
Our brazing process ties all copper joints with copper and 15% silver solder to connect the lines to the main chiller components. When the filler metal cools and solidifies itself to the copper pipe, it creates a complete and leak-free connection. Head to our blog to learn more about brazing and other leak-stopping industrial chiller manufacturing processes that can save money and increase uptime.
7. Wiring
We build the wiring of the chiller’s control panel concurrently during the assembly, piping, and brazing steps. First, the wiring technician lays out the components for installation in the electrical panel based on the engineer’s diagram. These components include but are not limited to microprocessors, contactors, fuses, circuit breakers, overloads, transformers, terminal blocks, and wireways. Then, we install the chiller’s panel and wire every motor, solenoid, and sensor to the panel.
8. Testing
Now, it’s time to test the system to ensure optimal performance in the field. Our comprehensive testing protocol includes:
- Vacuuming down refrigerant side to 500 micros to remove moisture
- Refrigerant leak testing with nitrogen and helium
- Loading refrigerant and checking for leaks again
- Running fluid side at design flow rate and testing for leaks on that side
- HiPot testing
- Energizing system for commissioning
- Testing to ensure unit meets desired cooling requirements
Check out our blog and website for more on our complete chiller leak detection process.
9. Quality control
The final manufacturing step before a chiller leaves our facility is quality control. Our rigorous process includes cleaning, insulation, and a thorough quality inspection by a production supervisor and an engineer. When approved, we carefully package the chiller for safe arrival at its destination, complete with its P&IDs and installation, operation, controller, and maintenance manuals.
This article merely scratches the surface of our nine-step industrial chiller manufacturing process. Visit our website to learn more, then contact our team to begin selecting and designing the ideal industrial-grade process chiller for your application. With over 50 years of experience and a proven 99%+ uptime rate, we have what it takes to keep your industrial equipment running, helping to maximize your productivity and profits. Request a quote to get started.

